The Start of a New Year! Happy New Year!
Discount Pools completed the tile work, brick coping all around the pool, as well as the concrete decking in a pebble finish. We will now let the rest of the work still to be done on the pool wait until we move into the home. Once we move in, we will be able to finish the plaster work and fill the pool. Once filled, the pool will have to be monitored to keep it clear.
Since the gutters have yet to be installed the dirt around the pool has been contoured to keep as much of the run off from heavy rains from going into the pool. You can see that the pool already has quite a bit of rain water in it. We really do get a lot of rain in this part of Texas, so different from the Dallas area.

The photo on the left, shows the beautiful detail and care taken by the mason as he cut the brick special in the corners. It's the little details that really add to the overall look of the place. You really can't put your finger on it in the grand scheme of things, but every once in while your eye sees something that really shows a tradesmen pride in his work.

The photo on the right, shows the overall coping around the perimeter. We selected a red brick with a "lye white wash" effect to help it look a bit "old".On the inside of the pool just under the coping the blue tiles have been cut and set around the whole perimeter. There will be little blue diamond tiles inset into the plaster later on.
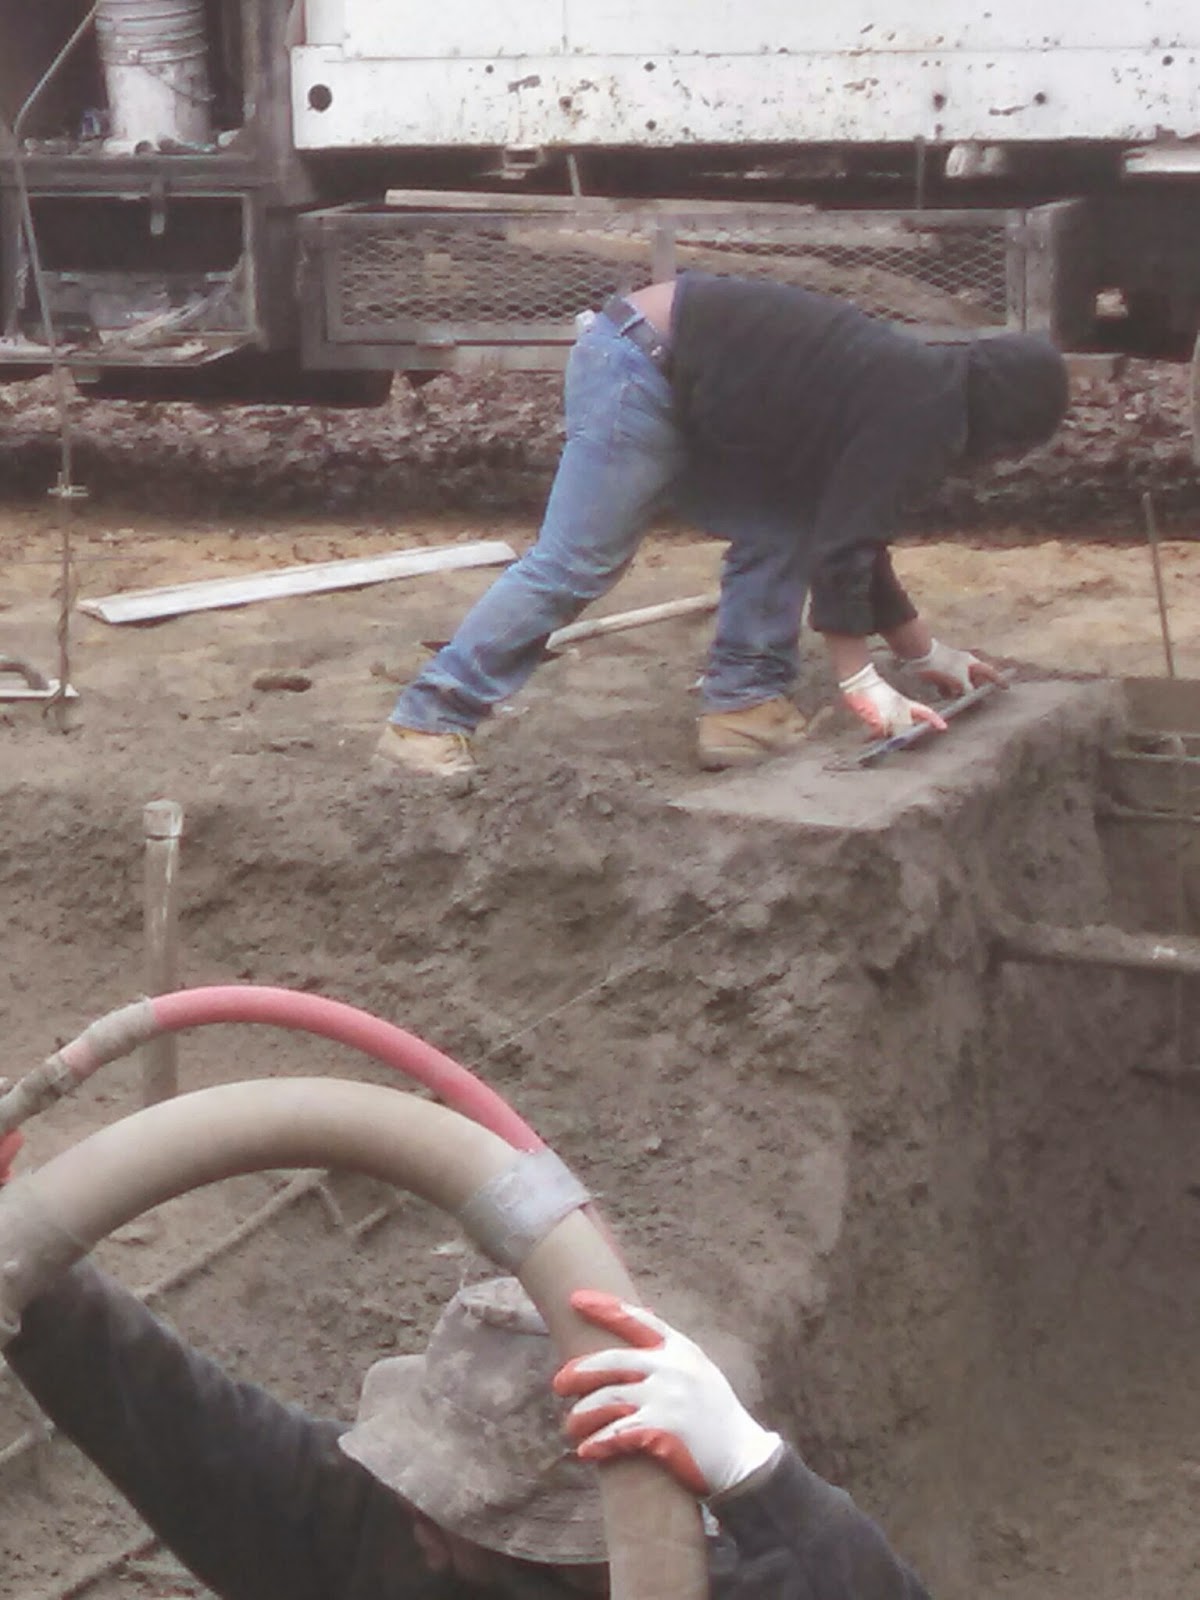
One of the biggest issues we have on this job site is the mud! There has been so many days of rain that it has really slowed down the project because the crews can't drive into the driveway and get their tools close enough to the site. On this particular day the sun was shining, the weather mild, BUT no one was working on site.....except me. I decided I had to fill some of the ruts made by the dirt moving equipment just so the workers couldn't say they can't get around the house.
 |
| BEFORE(at 9AM) |
 |
| AFTER(at 5PM) |
I worked all day with my wagon, gloves, shovel, and stone rake. I found the wood around the site. I was able to drag them over to the areas I had just filled with dirt. I was using the dirt removed from the pool area. I slept well that night! lol
 |
| Step 1- Install plywood to the ceiling |
 |
| Step 2 - Figure which side is the right side |
The cabinets are due to arrive soon, so my builder scheduled the tin ceiling installation for the scullery. It will be far easier to install the ceiling BEFORE the cabinets come into this room. No one on the site had ever installed a tin ceiling before so it was a bit serious first thing in the morning as 3 men and myself are trying to understand a 1 page installation sheet, that had VERY small pictures. Fortunately the owner of the tin company was readily available and walked the installers through the process.
 |
| Step 3- Start in the middle of the room |
 |
| Ceiling complete, but molding issues |
These men were very patient. Took their time and measured and remeasured before cutting. I had given them only 11 sheets to work with, and the product had been shipped to me from Houston, so it was really critical not to waste any of the sheets. They did a fine job. But, unlike other parts of this home building project, I was too nervous to hang around and watch. So I left. I came back the following day to see how it had all come out. The next day, my birthday, I got a surprise! The tin ceiling was up and looked great, but my hunch was something must have gone wrong while trying to install the tin egg and dart cornice molding.

Yes, there had been a problem and the installer just didn't want to go any farther and waste the product. Now that's SMART! The builder and I discussed possible solutions to the problem, including using another product, such as wood trim. The following day, I decided to call the tin company and low and behold we had installed the product inside out and upside down. Now that wasn't the installers fault at all. In the very beginning, I thought the nails went INTO the dimples. Turns out the nails were suppose to go in to the convex circles, which in turn would push the dimples around the nail head. Once we updated the installer on the "right side" of the tin, he had a MUCH easier time installing the tin cornice! It looks GREAT! Since it's real tin, it will need an oil base paint coat to finish it off to keep it from rusting. Can't wait to see it all painted up! You can also paint it and antique it BEFORE it goes up, but I wasn't up to doing this kind of prep in this area. I have enough going on just now. Thank you Glenn Eldridge for taking our calls to walk us through this installation. For more information on tin ceilings go to: thetinman.com

What to do with all that dirt? The excavated dirt from the pool area created a mountain of a dirt pile. So much dirt in fact, and so close to the house that the gutter installation couldn't take place until I moved it. It was suggested that we truck some of it off the property. But that didn't sit well with me, after having gone OVER budget to bring in dirt to build the house. No, I think I'll try to be resourceful and find a way to use it in shaping the hardscape of the "new and improved" property. After installing the pool in the back yard, there isn't much room for the boys and the grandchildren to throw around a ball and just run, run, run. So I asked that the pool contractor come back and push it down and out. There is hope yet that the "extra" dirt will find a good home here.
 |
| Ceiling done, walls primed accent walls taped |
Okay, those of you who know me, know that I can be "a piece of work", as my father so often said to me. So here I am working again, doing my thing when the builder comes up to ask "what are you doing?" "Painting", I reply. Needless to say, he does have that figured into the project. But there is so much that I can't do laborwise on this home, and painting is something that I can do, I have done my very best to keep within the allowances of the budget. Just as everyone tells you, expect to go over budget somewhere. Even though you are told that, it is a very scary process to walk through when you haven't done this scale of a project before. Although so much detail has been put into the construction drawings, 15 pages worth, certain parts of the project have been overlooked by myself, my builder, and very possibly the contractors that submitted their budgets before the contracts were signed. So whatever I can do to keep costs down, I'm in! No matter how hard the work is. But not only is it my home, it is a home that the builder wants to walk away from with pride and confidence that the very best efforts were made. I'm quite sure seeing me on a ladder and painting the 9' ceiling in my art room, wasn't entirely comforting, poor man. He is getting to know me better though.

January 21, 2014
All the interior doors arrive today, with the exception of two pairs of mahogany doors for the foyer. These doors will hopefully arrive mid February. I was really excited to see the doors arrive on this gorgeous sunny day, because the next day we are due to have over 3" of rain in the area. That means none of these trucks can get up close to the house. So, just having the doors inside, and dry, means a lot to me. If a tradesmen can get into the house with his tools, we have a shot at installing them.
The electric company also came out today to check the service panels installed on the house. My builder would like to TRY to put in the driveway next week. But before we can do that, we have to get the electric 3' underground from the transformer box to the back panel box behind the garage. It might be good to have the gutters in too, so we can tie in some drainage pipes under the driveway. Sure do get alot of rain.


This is such a big day! I'm so excited I had to take a picture of the truck when it arrived. What is so exciting? What is in the truck? A whole team of cabinet makers and a trailer full of cabinets!!!!!! What a day! Can't wait to see what comes out of that box truck.
From the second floor you can really see the color of the dirt. This is really a mixture of clay and sand. Nearly impossible to walk on when it's wet. It's a day before a forecast of 100% rain is due to roll in. So glad they made it!
They decide to bring the cabinets in through the front door. There aren't any steps yet, but the porch is really wide.
 |
| Once the cabinets are inside they set up on the porch for their "shop". |
 |
| The builder + Cabinet owner going over plans. |
The truck was filled to the top, and they still had to leave some behind. The team got busy unloading and placing all the cabinets they had. They determined if they fit, and what, if any, modifications could be done on site. All the sink cabinets were cut to accept the rough plumbing so they could fit tightly against the walls. Together, we spotted 3 cabinets that were made too deep. They put in nearly 5 hours at the job site. Without a word they repacked some of the cabinets, putting them back into the truck. The plan had been that they would be on site the next day, but with the rain coming they decided to take their work home and return the day after.
Thursday, January 22, 2014
"Rain rain go away, come again another day." However, one should try as much as they might to look at life with the glass half full. So with that in mind. Today, I slept 1 hour later than usual, curled my hair, ate lunch at the ladies luncheon at Juls, went to Morrison's Plumbing Supply,
ordered additional hardware as requested by the cabinet maker, and got this blog back on track for 2015! Not bad for a rainy day. How was your day?
Till later......